Exhibition Counters: A Brief Guide

Exhibition counters or counter display units are a vital display item that give you somewhere to greet visitors, store brochures and samples, store boxes, hide cables, and create a natural focal point for visitors and customers on your exhibition stand.

From lightweight promotional units to larger pop up counters, there’s a wide choice of styles depending on how you plan to use the space. This brief guide covers what exhibition counters are, where they work best, and what to consider before choosing one.

What is an exhibition counter?

An exhibition counter is a portable unit designed to sit at the front or side of your stand. Most are ‘bar height’, with a branded outer graphic and a solid top for leaflets, product samples, laptops or giveaways.

Many counters also include internal shelving, giving you useful hidden storage for bags, stock or personal items. Depending on the design, the structure might be a simple folding unit, a pop up frame, or a more substantial promotional counter.

Counters are often used alongside pop up stands, roller banner stands and other display products to create a more comprehensive event setup.

Where are exhibition counters used?

Exhibition counters are flexible enough to work across a range of spaces, including:

  • Trade shows and exhibitions

  • Conferences and seminars

  • Retail promotions and in-store demos

  • Reception areas and foyers

  • Roadshows and pop-up events

Wherever you need a practical point for welcoming visitors or displaying marketing material, a counter can help make the space feel more organised and professional.

Types of exhibition counters

There are a few common types of counters, each suited to slightly different uses.

Pop up counters
Pop up counters are built around a collapsible frame with a wrap-around graphic and separate top. They are easy to transport and quick to assemble, which makes them a good choice for regular event use. The Contester Pop Up Counter is a good example of this style, offering a larger branded presence with the convenience of a portable system.

Promotional counters
Promotional counters are often compact, lightweight and designed for quick brand activations, sampling, demonstrations or meet-and-greet setups. The Abacus Promotion Counter fits neatly into this category and works well where portability and simplicity matter.

Larger reception-style units
Some counters are designed to create more of a front desk feel, with extra width, storage or workspace. These are useful when you need more room for staff, product information or live demonstrations.

Why use a counter on your stand?

Counters may look simple, but they offer a lot of practical benefits.

  • They create a natural welcome point for visitors.

  • They give staff a proper working surface for laptops, literature and samples.

  • They provide extra branding space at the front of the stand.

  • They help keep the stand tidy by hiding storage behind the graphic.

If you’re already using a backdrop or banner, adding a counter often helps the whole stand feel more complete and easier to use.

Choosing the right exhibition counter

The right counter comes down to how you plan to use it.

For simple promotions or compact setups
A lightweight promotional counter is often enough if you mainly need somewhere to place leaflets, collect leads or display a few products. In these situations, the Abacus Promotion Counter is likely to be a practical option.

For a stronger branded presence
If you want the counter to play a bigger role in the overall look of the stand, a larger pop up unit can make more impact. The Contester Pop Up Counter is better suited to this kind of setup, especially if you want a broader graphic area and a more substantial feel.

For regular travel
If the counter will be going to multiple venues, pack size, weight and ease of assembly all matter. Portable units that fold down neatly into a bag or case can save time and hassle when moving between events.

For storage and working space
If staff need to keep brochures, bags, stock or equipment out of sight, it’s worth choosing a counter with internal shelving and rear access.

Design tips for counter graphics

Counter graphics are usually one of the first things people see as they approach your stand, so clarity matters.

  • Keep the main logo or message on the front panel.

  • Use bold, easy-to-read text.

  • Avoid placing important details too low down.

  • Match the design to your backdrop, banners and other display graphics so the stand feels consistent.

Simple, confident layouts usually work better than trying to fit too much in.

Setup, transport and storage

Most exhibition counters are designed to be assembled without much effort. Depending on the model, the frame may fold out, slot together or pop into shape, with the graphic wrapping around the outside and the top fixing into place.

Once packed down, most counters are easy to move and store between events. Keeping them in a dry space and avoiding heavy items on top will help protect both the graphics and the hardware.

Counters are a small addition that makes a big difference

A counter might not be the biggest part of your exhibition setup, but it often becomes one of the most useful. It helps define the space, gives staff a practical base, and adds another layer of branding to the stand.

If you’re looking for a compact promotional option, the Abacus Promotion Counter is a good fit. If you want something with a bit more presence, the Contester Pop Up Counter is worth considering alongside the wider counters range.
Pop-up stands are a simple way to create a large branded backdrop at trade shows, conferences and events. They pack into a single case, travel easily, and can usually be set up in a few minutes by one or two people.

You’ll see them used as the main wall on an exhibition stand, as a media backdrop for photos, or as a feature display in retail and reception areas. If you’re deciding whether a pop-up stand is right for you, this guide covers the basics and points you to a couple of great options in stock.

What is a pop-up stand?

A pop-up stand is a portable display that folds out into a full‑size backwall. It’s built around a lightweight frame, with printed panels that attach to the front to create one continuous graphic.

When your event is finished, the frame collapses back down, the panels go into the case, and everything is ready for the next show. It’s a straightforward way to get a big visual impact without committing to a custom‑built stand.

Where can you use pop-up stands?

Pop-up stands are designed to be flexible. Typical uses include:

  • Trade shows and exhibitions

  • Conferences and seminars

  • Retail promotions and in‑store events

  • Press days and photo backdrops

  • Reception areas and corporate lobbies

Whenever you need a branded wall that looks polished but doesn’t need a complicated build and breakdown, a pop-up stand is worth a look.

Sizes, shapes and planning your space

Pop up stands come in different widths and shapes, so it helps to think about how they’ll fit in your space before you order.

  • Straight stands give you a clean, flat wall that works well for photography, video and simple stand layouts.

  • Curved stands gently wrap around, which can help frame your stand and pull people’s attention in from the aisle.

Frames are usually described by “grid” size rather than exact metres, but they translate into practical widths for smaller shell schemes through to larger open‑space stands. Many systems also include a wheeled case that can double as a branded counter with a printed wrap.

If you just want a straightforward backdrop without lots of extras, the Contester Pop Up Basic Kit is a good starting point. If you’d like the stand, counter and extras all sorted in one go, the Contester Pop Up Bundle pulls everything together into a single package.

Why choose a pop-up stand?

Pop-up stands sit alongside roller banners and other display options, but they’re better suited to certain jobs.

  • They give you a large, continuous graphic area for big visuals and simple messaging.

  • They create a strong presence in busy halls without complex installation.

  • With replacement graphics, you can reuse the same frame for future campaigns.

If you want more flexibility at the front of your stand, it’s easy to combine a pop up backdrop with roller banner stands or other display products for extra messaging.

Design tips that actually help

Good design is what turns a pop-up stand from a background into something people will notice.

Keep your key message at eye level
Place your logo and main message around eye height so they’re easy to pick out from further down the aisle. Try not to hide important content near the very bottom, where counters or people can block it from view.

Use bold, simple visuals
Pop-up stands are often viewed from several feet away. Strong images, clear type and simple layouts usually work better than lots of small details and long blocks of text.

Think about panel joins and curves
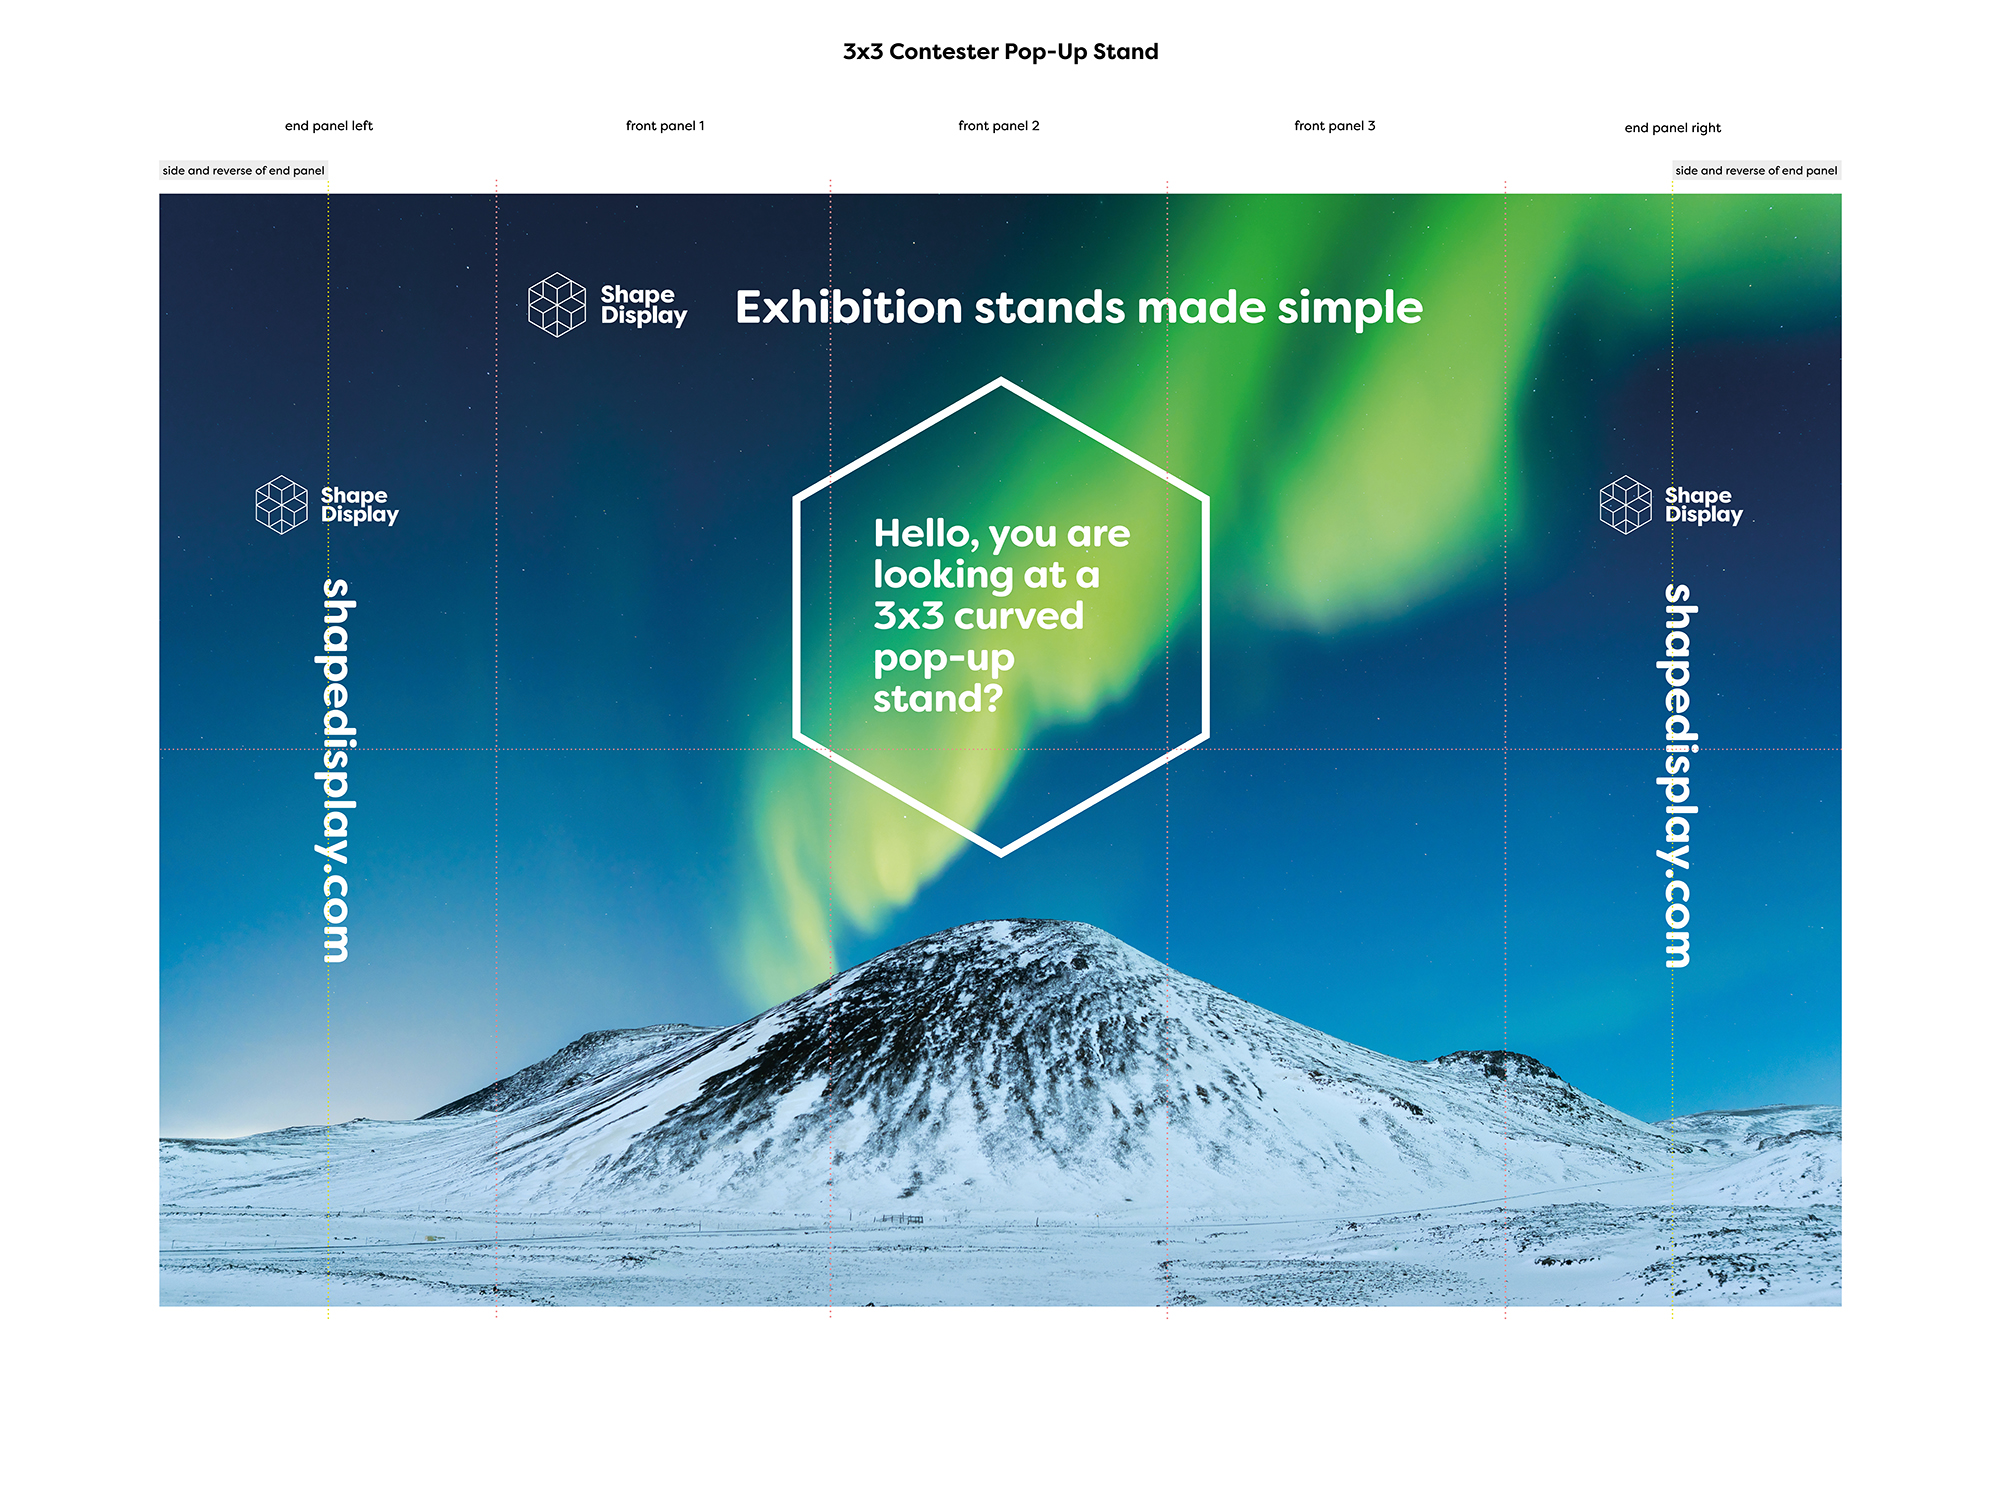
If you’re using a curved stand or multiple panels, keep logos and key text away from the most curved areas and panel joins to avoid distortion. A clean background and some breathing space around your message tend to look more professional.

Include clear next steps
Whether it’s visiting your website, scanning a QR code or speaking to your team, make the next step obvious. Keep contact details large enough to read without stepping right up to the stand.

See our artwork templates and file guidelines.

How easy are they to set up?

Pop-up stands are designed to be straightforward:

  1. Wheel the case into position.

  2. Lift and “pop” the frame open.

  3. Add the support bars to stiffen the frame.

  4. Hang the graphic panels in order.

Once you’ve done it a couple of times, it becomes a quick routine rather than a puzzle. Most complete kits are up and ready in a few minutes.

Transport and storage

Despite their size when assembled, pop-up stands are built with transport in mind.

  • The frame and panels pack down into a wheeled case that’s easy to move around venues and load into most vehicles.

  • The case protects the hardware and graphics between events, which helps them last longer.

Storing the stand in a dry space and avoiding heavy items on top of the case will keep it in good condition for the next show.

A long‑term display option

A well‑looked‑after pop-up stand can serve you across multiple events and campaigns. When your branding or messaging changes, you can usually update the graphics and continue using the same hardware rather than starting from scratch.

If you’re not used to designing exhibition stand graphics, it might be a daunting prospect. But it need not be. Simplicity is often the key.

Below we offer a series of useful tips for you to use yourself, or share with a designer, when creating the layouts and artwork for your exhibition stand.

First off, we’ll let you know that we supply a host of artwork templates for many of the stands we supply. These are available on the individual product pages. If a particular template is not available, you can usually find sizing information on the product pages either within the descriptions or via a product spec sheet.


Design tips for exhibition stands

Get the most from your layout

When designing your stand, consider some easy-to-follow rules.

  1. Position important information towards the top of the stand.
  2. Keep the messaging simple.
  3. Use eye-catching imagery.

Use


Position important information towards the top of the stand

Positioning information, such as the company name or the key text line, towards the top of your exhibition stand graphic helps it stand out.

To start with, if the stand is in a busy area, the top part of the stand will be above everybody’s heads. So if you add the first part of your info higher up, chances are it will catch people’s eye and their interest.

Keep the messaging simple

An exhibition stand aims to capture attention. One simple line can be an effective way to open the conversation with your audience.

This line could be
1. Product or event information
2. An intriguing question
3. A statement about quality
4. Service-driven
5. Your USP (Unique Selling Proposition/Point)

Use eye-catching imagery

Even if people cannot initially read all the text, an impactful image can also spark interest and draw people in.

Design tips for exhibition stands

Think about the type of stand you are using.

  1. What size is it?
  2. How wide?
  3. How tall?
  4. Will it be used inside or outside?
  5. Is it single or double-sided?
  6. Where will it be positioned?
  7. Is it for a single event or multiple?
  8. Will it promote one thing, or many?

Useful info to share

Think about what your graphic needs to share.

Could you use any of the following –
1. Headline message text
2. Website address
3. QR code pointing to specific website pages
4. Phone number
5. Key company offerings
6. Important details your stand is promoting, such as product or service details, dates and times, location, pricing, etc.

Remember

Try to keep it simple. Exhibition stands generally act as a supporting role to the main event, used to give an overview of the story. Whether this is for advertising or as a backdrop, try to make an immediate impact and catch people’s attention.

Once your stand has been designed…

Then hopefully you’re ready to go. Please provide artwork using the guidelines and help points on our artwork guide page. Artwork is uploaded at the checkout stage.


It’s essential to be on point when making a first impression on attendees.

The exhibition signage and exhibition stand graphics that you take with you are liable to be responsible for this all-important initial interaction. To ensure that you’ve gained the interest of potential clients, and not just driven them into the arms of the ever-present competition, here are some tips to get the most out of your exhibition stand design.

Consider your audience
Contemplate who you’re trying to appeal to; the demographic makeup of the exhibition’s attendees should be seen as of equal importance to the message you’re trying to convey with the design of your exhibition stand. Indeed, the message that the design of your exhibition stand is pushing should be moulded to best appeal to those likely to be viewing it. A more youthful or creative audience requires a more vibrant, exciting design, while stone-cold professionals require a more to-the-point, constructive layout. If possible, look at other examples of exhibition signage and stands from previous years, as they may provide key pieces of inspiration.

Pictures tend to communicate more
The statement “a picture speaks a thousand words” is becoming a tired cliché, but its meaning still has a profound impact on creating the ideal exhibition stand graphics. Your business’s logo should be a prominent element in the design, while any text you do use should be supplemented and enhanced by liberal use of eye-catching and (importantly!) relevant imagery. Relevancy and eye-catching don’t have to be mutually exclusive; distil the concepts that make your business offerings unique and industry-leading, and discover/create imagery that best conveys this idea.

"Be on point when making a first impression on attendees."

Utilise interactive elements
Sometimes, especially when your competition has made a particularly good showing themselves, it’s difficult to attract the attention of attendees based solely on the strength of the initial design. A superbly designed exhibition stand gets you in the game, so to speak, but doesn’t win it for you. That’s why you also utilise interactive elements; whether it’s a slick video presentation, entertaining game, or informative handout, it can act as the final element that brings an attendee over to your stand or allows your staff to break the ice.

Keep the message simple
Don’t spread yourself too thinly; pick one key business offering to feature prominently on your exhibition stand. If you try to say too much, your message may be overly diluted or confused, and this will just get you and your exhibition stand ignored. Use your stand to promote a key feature that will bring attendees to you for further discussion; once they’re on the hook, you can elaborate on the additional business offerings that collaboration with you would make available to them.

Make yourself easy to find
Of course, all of your hard work is for nothing if the consumers that you’ve converted to your business are unable to find you! The design of your exhibition stand should make it abundantly clear how you can be contacted, in case your onsite reps forget to mention, or if the attendee in question is unable to engage with them at the time. In this way, you can also funnel interested parties into the medium of communication that benefits you most, whether this is social media, phone or email. Make sure your details are front and centre!

5 tips to get the most from your exhibition space

Take a look through the Shape product list for some of the exhibition stand options to help get yourself seen through the crowd. Here’s the quick link to the stand options.

Roller banner stands are a type of exhibition display used to promote businesses, products and events in a wide range of locations. They are commonly found at trade shows, conferences and exhibitions, as well as in retail spaces, hotel reception areas, book or product launches, railway stations and shopping centre promotional events. Because they are portable, quick to assemble and easy to transport, roller banners are one of the most versatile types of display stand available.

If you are new to this type of display, this short guide explains where roller banners work best, what to consider when designing your graphic, and why they remain a popular choice for event and retail marketing. For pricing and product options, you can browse our full range of roller banner stands.

What is a roller banner stand?

A roller banner stand (sometimes called a pull‑up or roll‑up banner) is a freestanding display made up of a printed graphic panel that retracts into a base cassette. A support pole holds the graphic upright when it is in use, and the whole unit typically packs down into a compact carry bag for transport.

Because setup is quick and requires no tools, roller banner stands are ideal when you need eye‑level branding or messaging in venues where space, time or staffing are limited.

Where can you use roller banners?

Roller banners are designed to work in many different environments, including:

  • Business trade shows and exhibitions
  • Conferences, seminars and training events
  • Retail stores and pop‑up shops
  • Hotel reception areas and lobbies
  • Book launches and product launches
  • Railway stations and shopping mall promotional events

Wherever you need a temporary but professional‑looking display, a roller banner can provide instant branding and directional messaging.

Sizes and space considerations

When choosing a roller banner, start by thinking about the space you have available and how far away your audience will be standing.

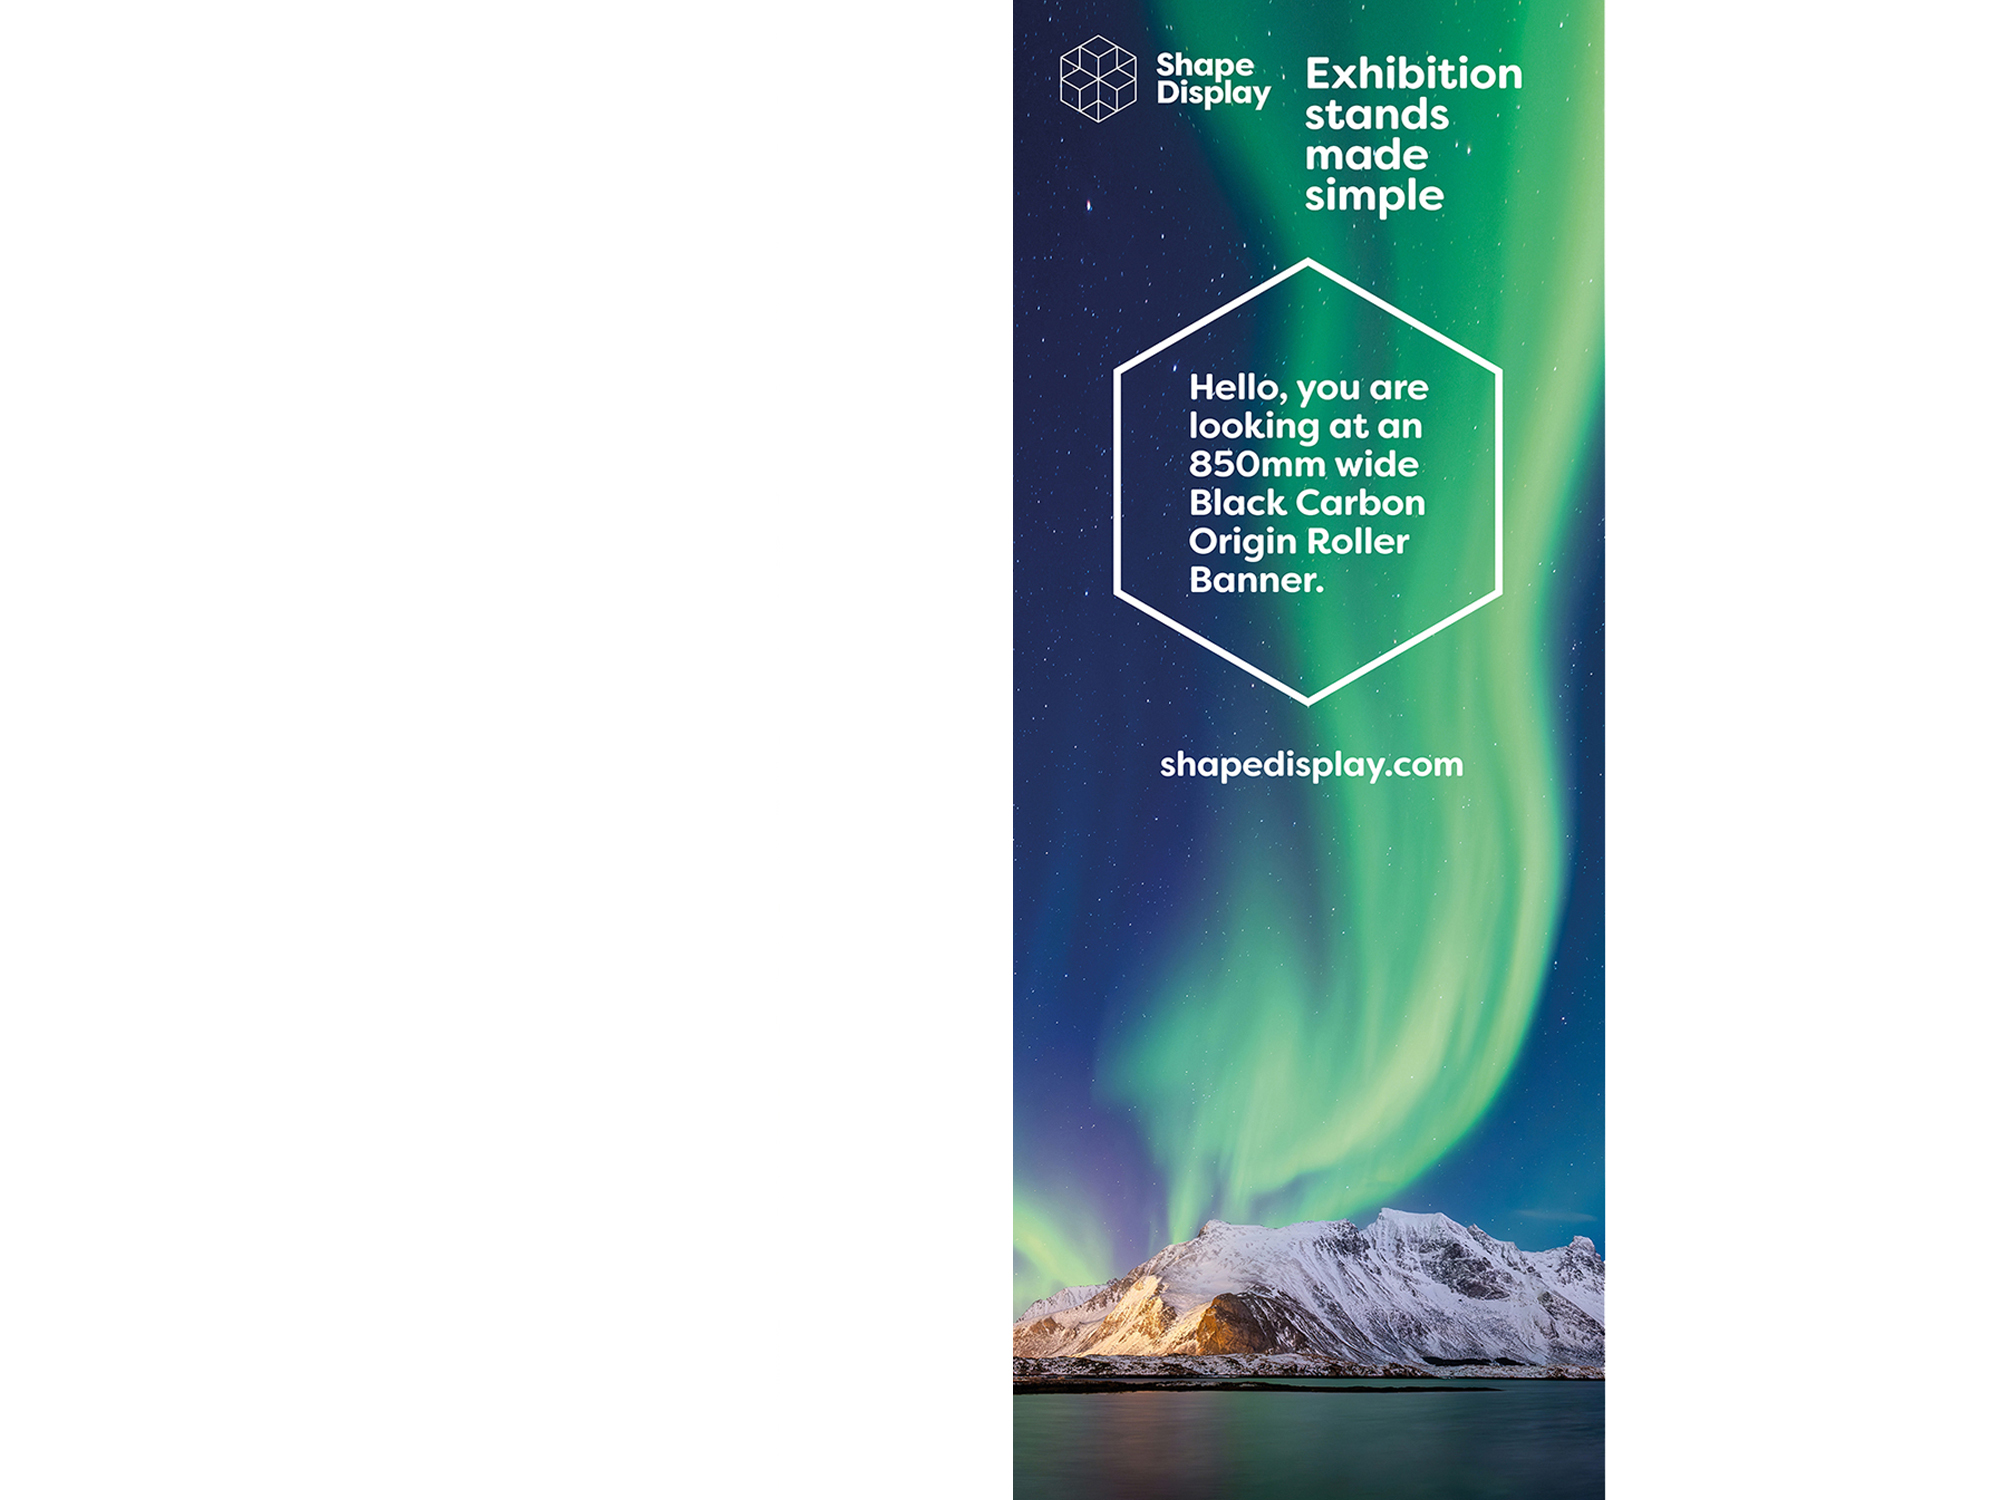
Our roller banner stands are available in a variety of widths, from compact 850 mm units through to larger displays up to 3 m wide. This range gives you options for everything from narrow aisles to wide, open exhibition stands.

For extra flexibility, our Piccadilly roller banner includes an adjustable height mechanism, allowing the graphic to extend up to an impressive 3 m. This can be useful in venues with higher ceilings or when you need additional impact at distance.

Designing an effective roller banner graphic

There are a few simple “unofficial rules” that can help ensure your roller banner stands out and remains legible in busy environments.

Put your logo and key message at the top

In crowded venues, the top of your stand is often the only part visible above people’s heads. Place your logo or headline message towards the top of the display so it is the first thing people see. This helps with brand recognition and makes your stand easier to spot across the room.

Use strong imagery and colour to stand out

Think about how your banner will look from a distance and against other displays. Use bold, high‑quality imagery and a clear layout to draw attention. One strong hero image is often more effective than several smaller pictures competing for attention. Consider high‑contrast colours and simple backgrounds so your text and graphics remain readable.

Include clear contact details

Make sure your contact information is easy to find and read. This might include your website, social media handles, QR codes, email address or phone number. These details are often placed towards the bottom of the display, but avoid positioning them so low that they are hidden behind furniture or blocked by people standing nearby.

Ease of use and assembly

One of the main advantages of roller banner stands is how easy they are to use. With the exception of very large 3 m wide roll‑up stands, most of our banner displays can be assembled by a single person in a few simple steps. The same applies to packing them away after your event.

Even our largest stands are supplied with an easy‑to‑carry bag, so transport and handling are straightforward for most users.

Transport and storage

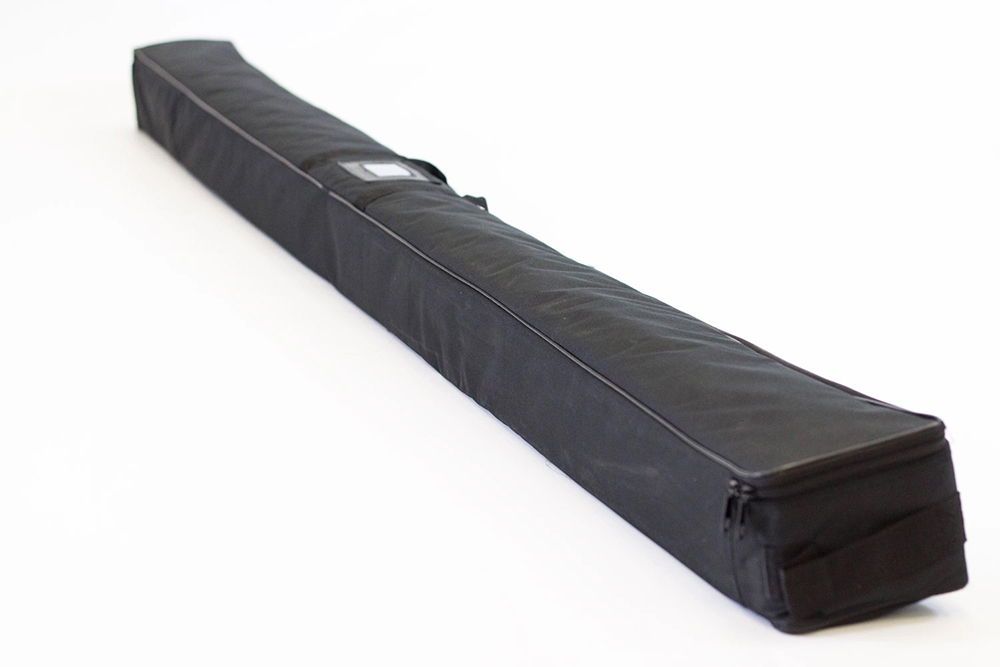
When packed away, roller banners are surprisingly compact. Most of the smaller widths will fit comfortably into the boot of a standard car, while larger widths may require a larger boot area or small van. Although the packed unit is relatively long, the height and depth of the carry case are modest, which makes it easier to load and store with other event materials.

Proper storage between events will help protect the cassette and printed graphic, keeping your banner looking professional for longer.

Roller banners as “instant messaging”

A roller or roll‑up banner is essentially a physical form of instant messaging for your brand. It is quick to transport, fast to set up and immediately starts communicating your key message to people around you.

These stands have been used for many years because they are simple, practical and cost‑effective. With multiple options across sizes and budgets, roller banners remain a reliable way to get your message seen in busy environments without complex installation or large structural builds.

Explore our roller banner stands and display products

If this brief guide has helped you understand how roller banner stands work and where to use them, you can explore our full selection of products:

• • Browse our complete product range for complementary exhibition and display solutions

A Guide to Roller Banner Stands